Adding and Editing Content
Adding Text
To edit your website, click on the MCG Builder link in the top toolbar.
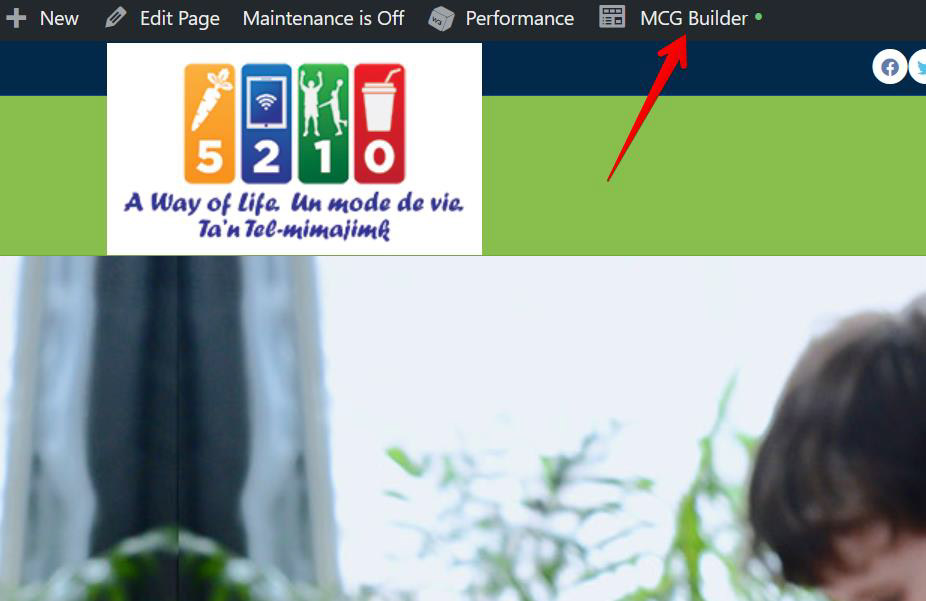
When in MCG Builder mode, all content items (known as modules) become editable.
- Hover over a module to edit.
- Clicking the wrench icon on any module will allow you to edit the selected content.
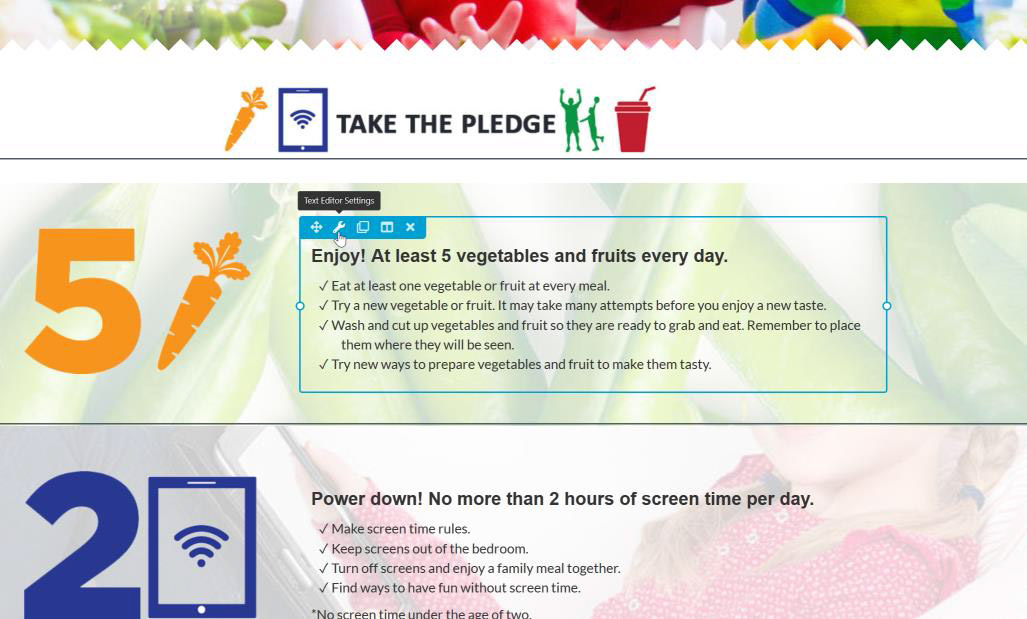
- Clicking the General tab on any module will open the content area for that module.
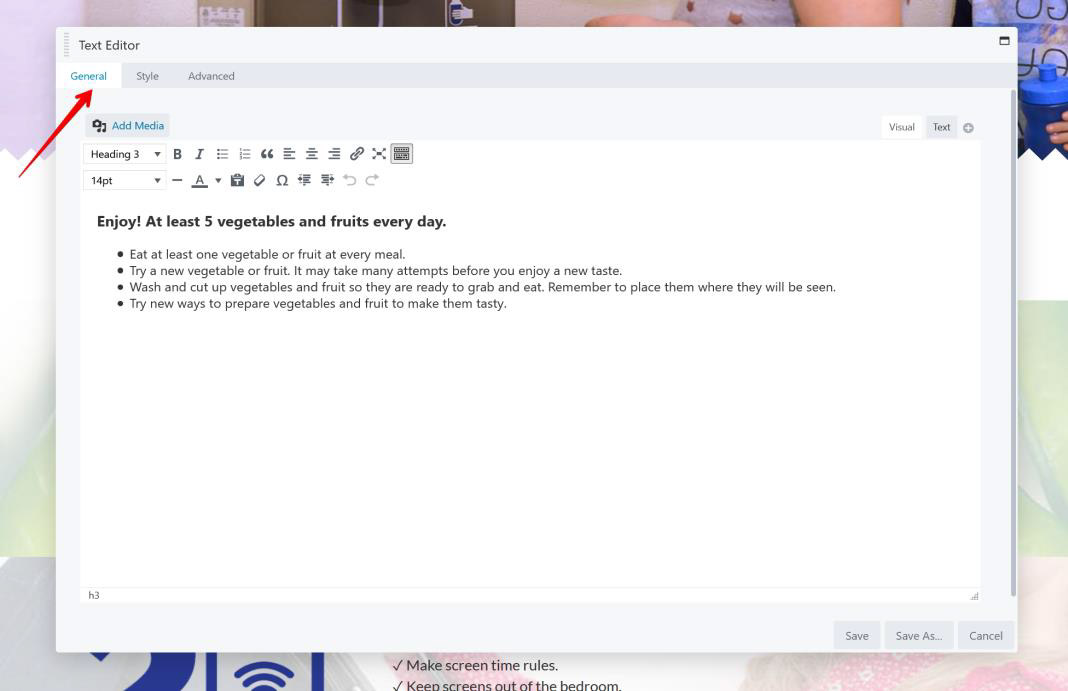
- In the above module, the Text Area module allows you to update your site text and
apply formatting options, such as font sizes, colours, etc. - Clicking the Add Media button allows you to upload a photo in the Text block (you can
also add a photo using the Photo module - more on that below) - The Style and Advanced tabs are usually used when initially adding a module, and rarely need to be edited.
- When you are finished updating your text content, click the Save button.
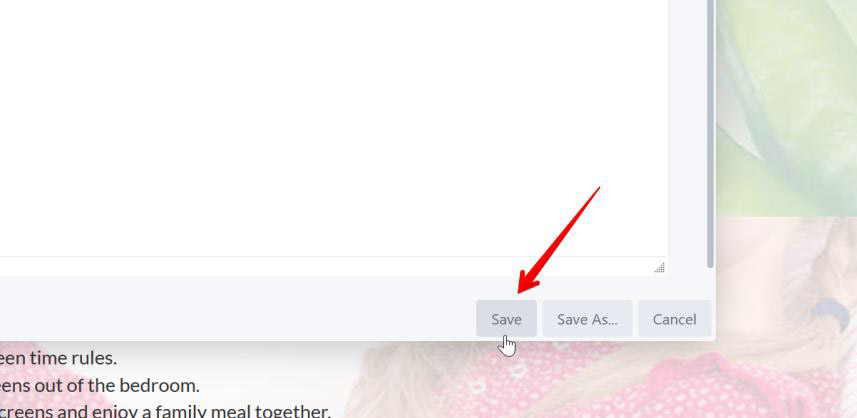
This will take you back to your page to make additional changes. If you have other text modules on your page, you can repeat the steps above to update.
Adding Photos
To add a photo (or any other content) using MCG modules, click the + symbol in the top right
corner of your site. This will allow you to add any type of module to your page.
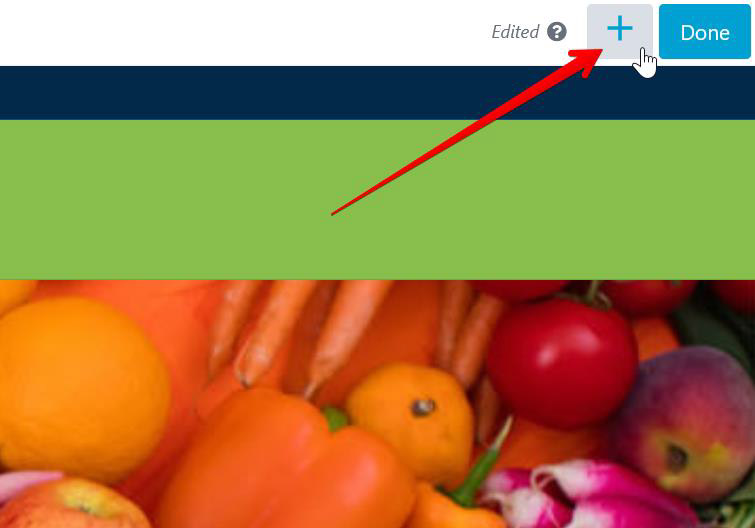
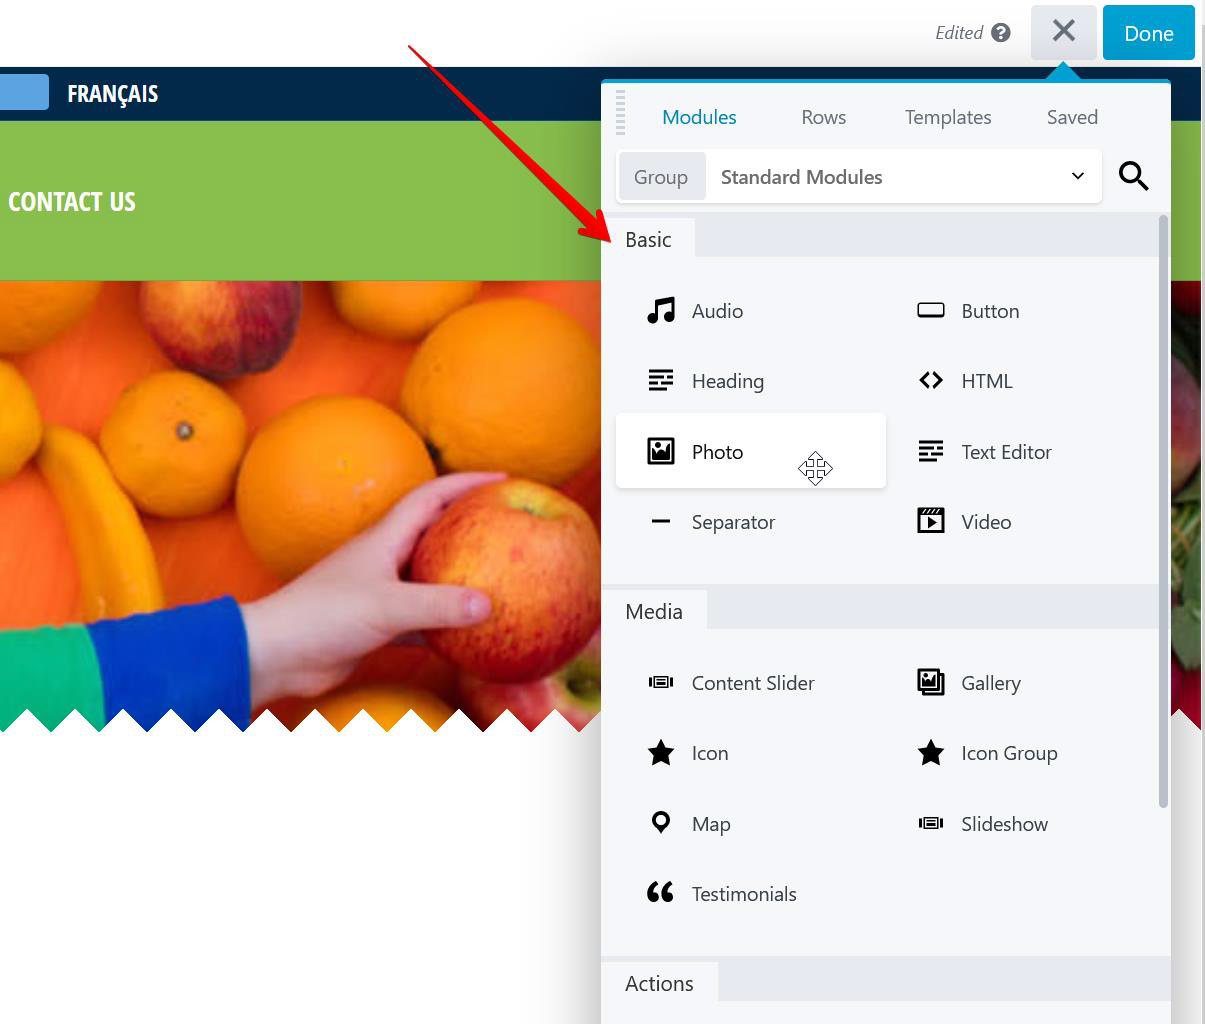
When clicked, the content expands to show the available modules. All modules are ‘drag and
drop’, so remember to hold down on your left mouse button and drag to the selected area of
your page.
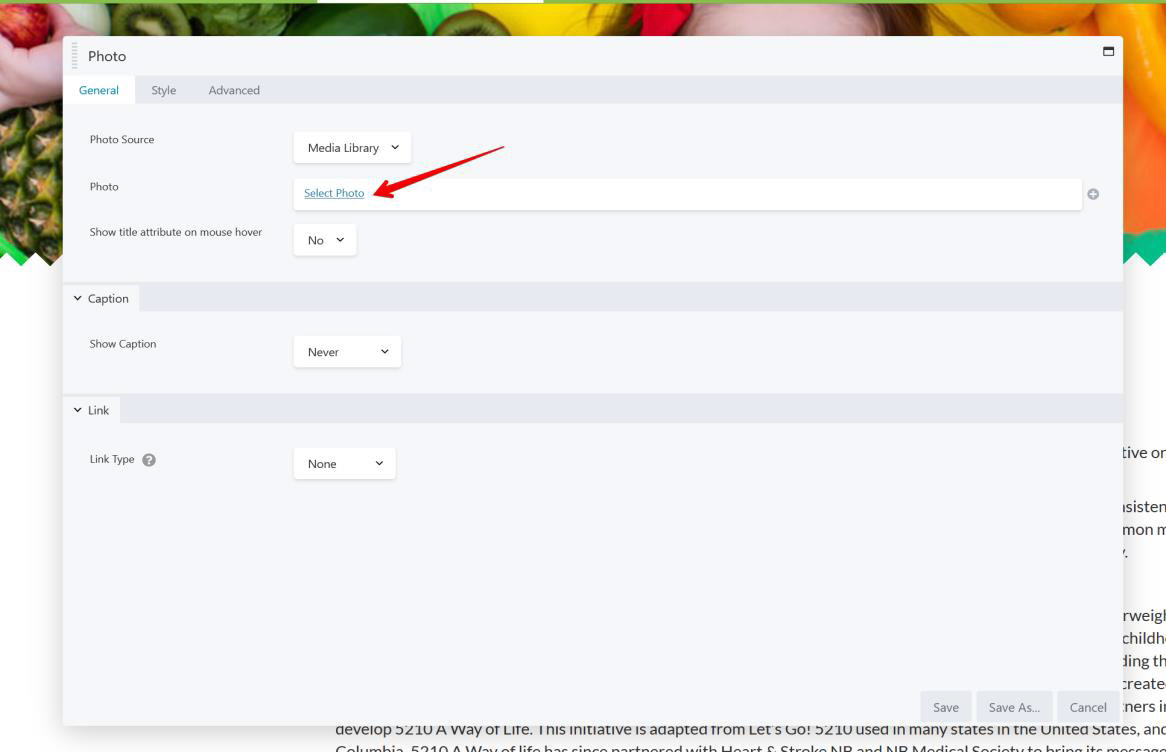
Once you place the module, the setting for that block will popup. In this sample, we have added a photo module. Click the Select Photo link to browse for your photo.
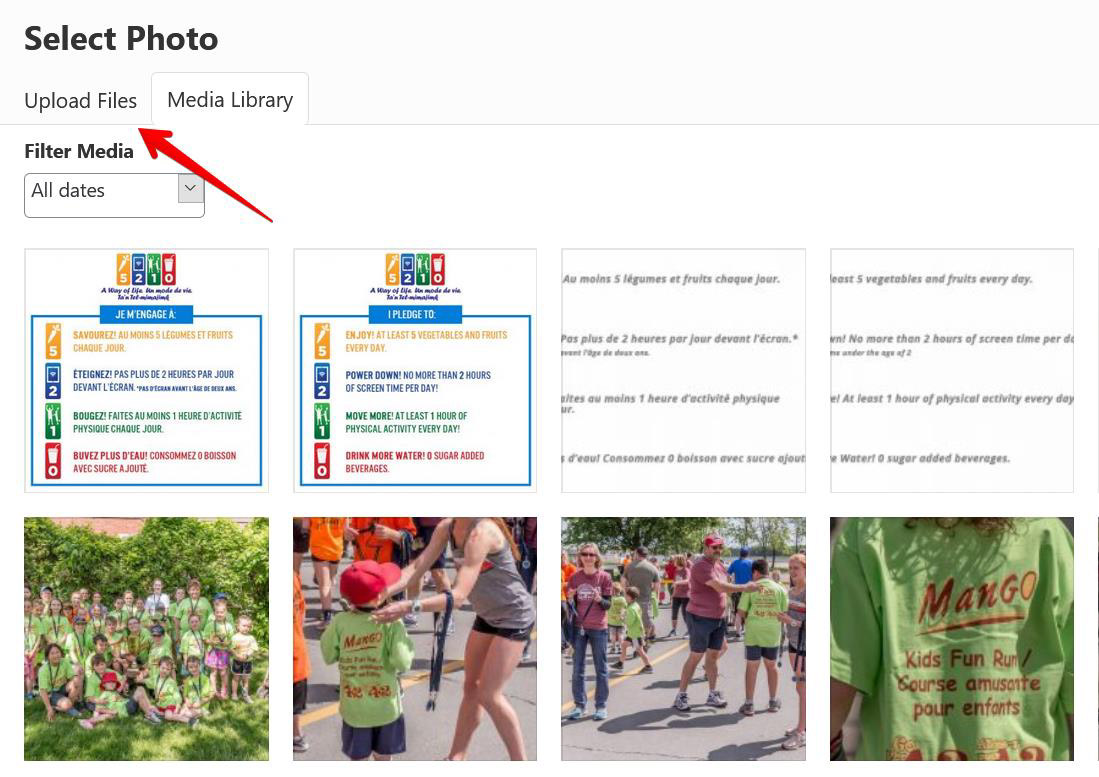
If it is already in your Media Library (ie/ an already uploaded photo), you can select that image. If you need to upload it from your computer, click the Upload Files tab.
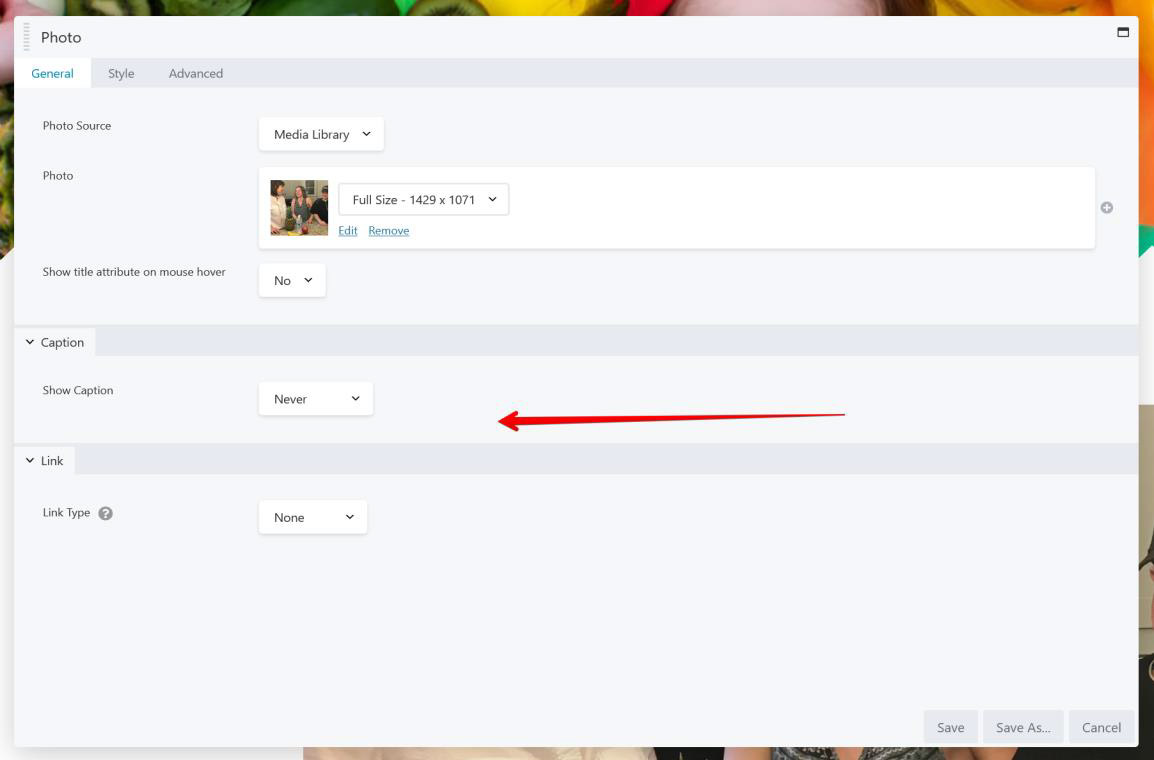
Once you select the photo, you can specify the size by clicking the dropdown option next to the photo thumbnail. You can add a caption or link by clicking the appropriate options.
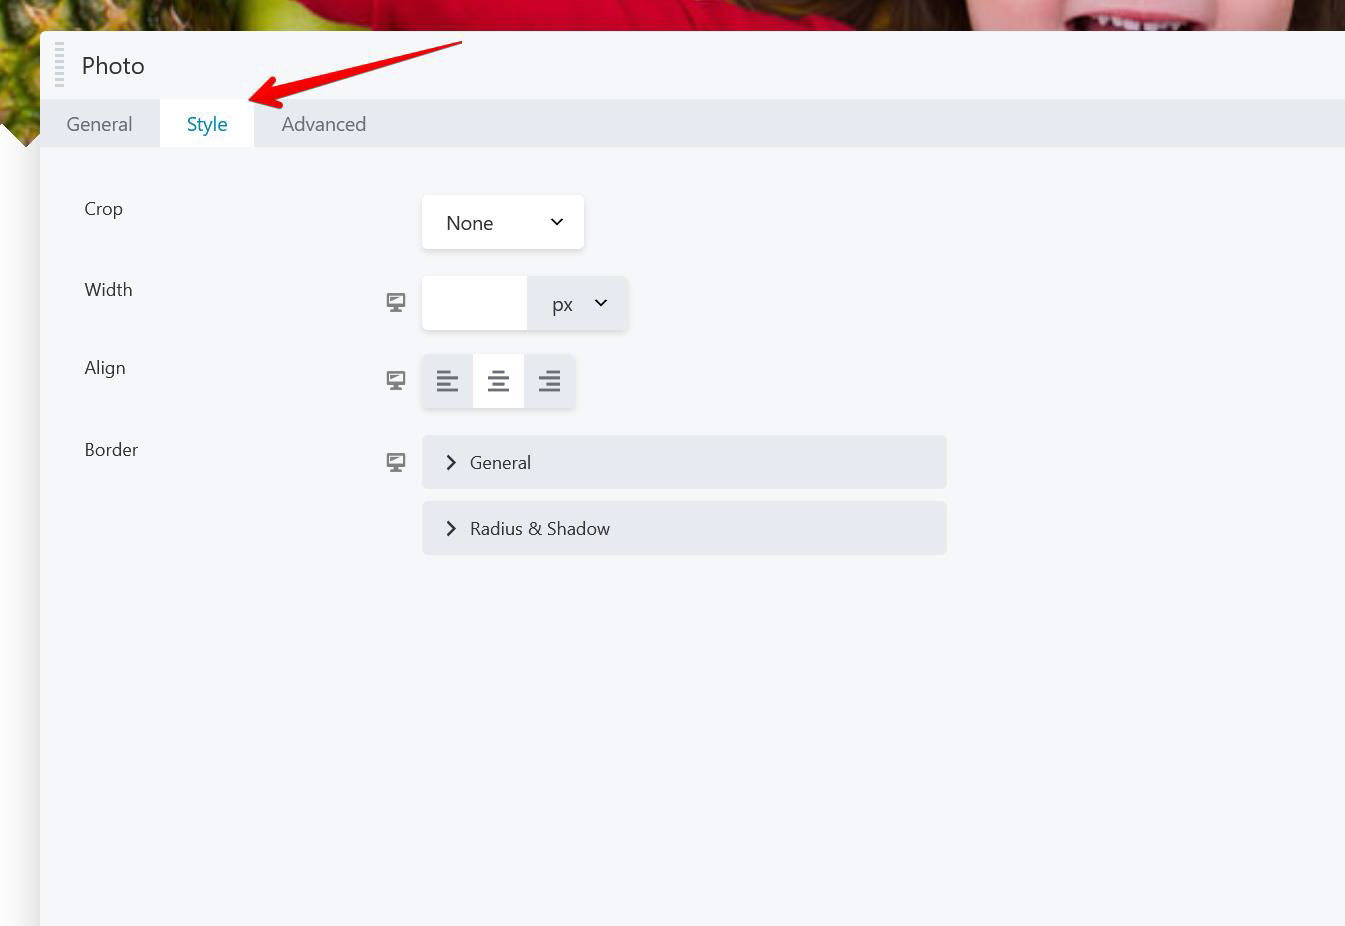
If you want to align your photo, click the Style tab and choose the option to left, center or right align your photo. Click the Save button when done.
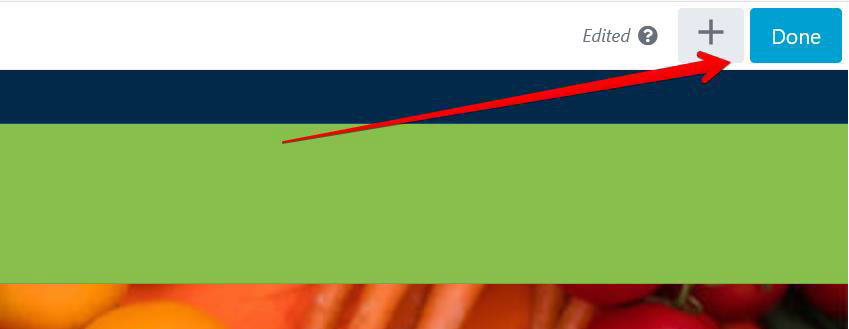
To publish your changes to your live site, click the blue Done button in the top right of your site.
Then click the Publish button.
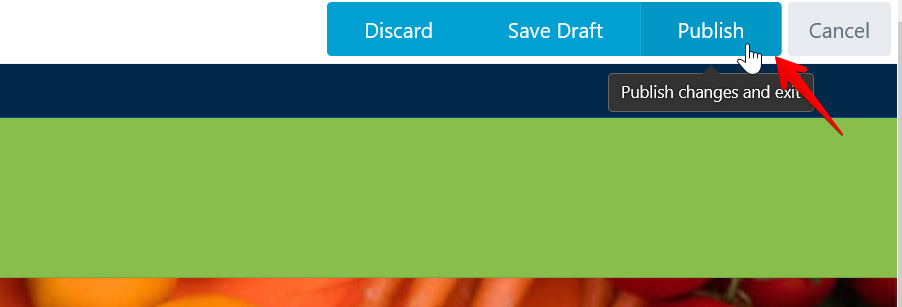
Your website changes are now live.
